Variable Neutral Density Filter
A variable neutral density filter can help you do long exposures and selective focus in bright lighting conditions. In this video, I explain how the filter works, and how to use it effectively.

Spread the joy! Share today’s tweetable!
Find part two of this video on using variable neutral density filters for portrait photography.
Video Transcript
Let’s say it’s bright out, but you want a long shutter speed – maybe you want to create that soft, silky water look. The problem is, it’s so bright that you just can’t make your aperture small enough to allow that long shutter speed. Is there anything that you can do? Yes there is!
Hi, I’m Julie from Ultimate Photo Tips, and today I’m going to introduce you to the variable neutral density filter, also known as the fader ND filter. This handy filter can help you in tricky situations, when you have bright light, and you want to blur motion or, conversely, you want to use selective focus.
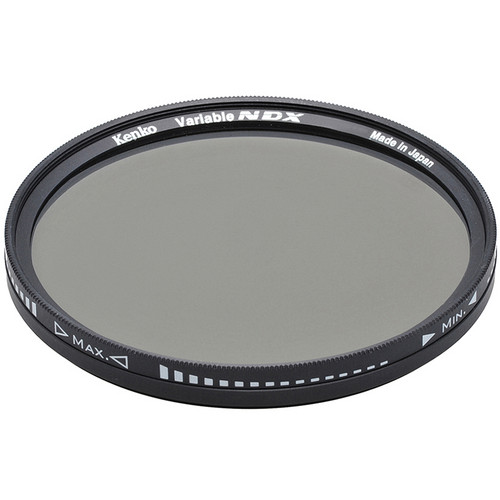
Here’s how it works. A neutral density filter reduces the amount of light entering the lens, without affecting it’s color. It looks like a solid grey. The darker (or denser) the filter, the less light it lets in. You can get a 1 stop ND that reduces the amount of light entering the lens by 1 stop, a 2 stop ND that reduces the amount of light entering the lens by 2 stops, and so on, on up. The variable or fader ND filter is a flexible version of the ND that combines a 1-stop all the way to an 8-stop (or more) filter in one. It works a little bit like a polarizer. You just turn the front element to dial in how many stops you want. Let me give you a quick close-up peek at what one of these filters looks like.
Without the filter, if you want to blur motion, like my example of creating silky water, you you choose the smallest possible aperture to let in the least amount of light, choose the lowest ISO available to make the sensor the least sensitive to light, and then your shutter speed would be determined by how bright it is where you’re shooting. If it’s too bright, and there’s just too much light, you simply can’t use a long shutter speed without over-exposing your image. But what if you could turn down the light, even outside? That’s effectively what you’re doing if you add the variable ND filter. You just set the shutter speed you want to use, and then turn the filter to increase the density, until you get to a correct exposure.
In the same way, if you want to use selective focus on a bright day, and you simply can’t get a shutter speed fast enough to allow you to open the lens to it’s widest aperture, you can use this filter to reduce the light, and get your shot.
Now you can effectively break the law of reciprocity, which says that as you lengthen your shutter speed, you must compensate by making your aperture smaller, and vice versa. Using this filter gives you control of both your aperture and shutter speed, and let’s you actually vary the ambient light to get to the right exposure. It’s like having your cake and eating it too!
Check out a
variable neutral density filter
at B&H
Join me next next week to learn about about one more situation where this filter can be useful, and that’s for portrait photography!
For now, head on on over to ultimate-photo-tips.com for more great tips.
Happy shooting, and I’ll see you next time!
Find part two of this video on using variable neutral density filters for portrait photography.